Top 10 Lighting System Upgrade Best Practices?

Time:2026-10-07 Author:Liam
0%

Upgrading a lighting system is not simply a matter of replacing old lamps with LEDs. It requires careful observation, measured planning, and practical testing. A warehouse aisle, hotel lobby, and hospital corridor demand different lighting conditions. Each space has its own visual tasks, occupancy patterns, safety needs, and maintenance pressures.

This guide explores What Are The Best Practices For Lighting System Upgrades through ten practical recommendations. It considers lighting audits, energy performance, controls, color quality, glare, emergency planning, and lifecycle costs. A reliable upgrade begins with real data. Teams should record operating hours, fixture failures, measured lux levels, and occupant complaints before selecting products. A brighter room is not always a better room.

Dr. Mariana Figueiro, a respected lighting researcher, has stated, “Light is the most powerful synchronizer of the human circadian system.” Her observation reinforces the need to consider timing, spectrum, and human comfort, not only energy savings. Good upgrades should support people as well as equipment efficiency.

The process is rarely perfect. Existing wiring may be poorly documented. Controls may confuse staff. A pilot installation can expose these weaknesses before a full rollout. That small step often prevents expensive rework.

This Top 10 Lighting System Upgrade Best Practices outline connects technical guidance with field experience. It encourages facility owners, designers, and contractors to question assumptions, verify performance after installation, and leave room for adjustment. Lighting should be evaluated in real conditions, with real users, over time. Cost matters. So do comfort, reliability, maintainability, and measurable results.
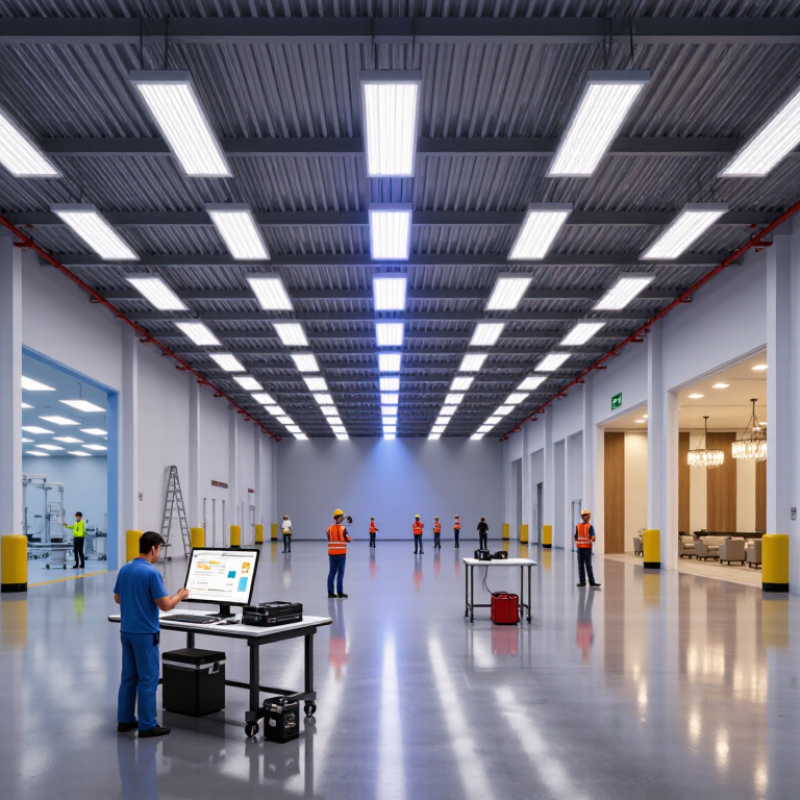
Top 10 Lighting System Upgrade Best Practices?

Assess the Existing Lighting System and Define Upgrade Goals

Assess the Existing Lighting System and Define Upgrade Goals

Begin with a room-by-room lighting audit, not a product catalog. Record fixture types, wattage, mounting height, operating hours, control methods, and maintenance history. Measure illuminance at desks, aisles, workbenches, and floor level. Photograph dark corners and visible glare. These details reveal problems that utility bills cannot show.

The U.S. Department of Energy reports that LED systems can use at least 75% less energy and last up to 25 times longer than incandescent lighting.

However, replacing every fixture may still create poor uniformity or excessive brightness. Check color temperature, flicker risk, emergency lighting, daylight exposure, and occupant feedback before setting specifications. A spreadsheet can still lie. One rarely used storage area may distort the payback calculation.

Define upgrade goals with measurable limits. For example, reduce lighting energy by 35%, maintain required illuminance, cut maintenance visits by half, and improve control coverage in empty zones.

The Illuminating Engineering Society recommends evaluating visual comfort alongside light levels, because adequate lux does not guarantee a comfortable space.

Compare one week of operating data with actual schedules. Then estimate savings using local electricity rates and realistic usage patterns. Leave room for doubt. Controls may save less than expected when staff override them frequently. Document that risk before approving the design.

Evaluate Energy Use, Light Quality, and Maintenance Requirements

A lighting upgrade should begin with evidence, not fixture catalogs. Measure energy use at the panel and record operating hours for each space. A corridor using inefficient lamps may consume power continuously, even when occupancy is low. Compare actual readings with utility bills and control schedules. Our first estimate can be wrong if timers, sensors, or seasonal use are overlooked.

Light quality needs equal attention. Check illuminance at desks, aisles, and work surfaces with a calibrated meter. Observe glare on screens, uneven brightness, flicker, and uncomfortable color shifts. Ask employees about eye strain during morning and late afternoon periods. A technically efficient system can still create shadows or visual fatigue. That is a poor upgrade.

Maintenance data often reveals the hidden cost. Count failed lamps, cleaning hours, lift access, and replacement time over twelve months. Inspect dusty lenses and discolored diffusers, especially in workshops or high-ceiling areas. Choose layouts that permit safe access and simple component replacement. Document expected service life, but treat manufacturer claims carefully. Real conditions include heat, vibration, and frequent switching. I would also test one area before upgrading the whole building. A small pilot may expose wiring problems, unwanted glare, or controls that staff dislike. Mistakes are useful when they appear early.

Select Efficient Fixtures, Controls, and Compatible Technologies

Efficient lighting starts with the fixture, but the specification should not stop at wattage. The U.S. Department of Energy reports that LED products use at least 75% less energy than incandescent lighting and can last up to 25 times longer. Select fixtures by delivered lumens, glare control, color quality, and thermal performance. A bright showroom sample can still create harsh reflections on desks or screens.

Controls determine whether savings appear in daily operation. Occupancy sensors, daylight dimming, scheduling, and task tuning should match each room’s actual use. The International Energy Agency reports that lighting consumes about 15% of global electricity. Even modest control errors matter. A sensor facing a glass door may keep lights active all afternoon. Test detection zones with staff present, not only during installation. It is an easy detail to miss.

Compatibility deserves equal attention. Confirm voltage, dimming method, emergency operation, network protocol, and software access before purchasing fixtures. Open, documented interfaces can reduce future replacement risks, but “compatible” does not always mean seamless. The U.S. Department of Energy has noted that advanced lighting controls can deliver substantial energy reductions, yet commissioning remains essential. Verify scenes, fault alerts, manual overrides, and data ownership. Some projects overinvest in connected features and underinvest in training. That imbalance is worth challenging. Retrofit adapters can also create heat, clearance, or warranty concerns when the existing housing was never designed for them.

Plan Installation, Safety Measures, and System Integration

Top 10 Lighting System Upgrade Best Practices

Plan the installation around measured conditions, not assumptions. Record existing illuminance, operating hours, circuit loads, and fixture locations. The U.S. Department of Energy reports that LED lighting can use at least 75% less energy than incandescent lighting. However, savings depend on controls, schedules, and correct commissioning. Create a zone plan for offices, corridors, warehouses, and emergency routes. Confirm ceiling access, cable paths, mounting strength, and disposal requirements before work begins. A written sequence of operations helps electricians and controls technicians share the same expectations. Small details matter. Label every circuit clearly.

Safety must remain practical and visible. Use a qualified electrical professional for isolation, testing, and energization. Follow documented lockout procedures and verify the absence of voltage before touching conductors. Check emergency lighting coverage after installation, including battery operation and escape-path visibility. The U.S. Occupational Safety and Health Administration identifies electrical hazards as a continuing source of serious workplace injuries. That risk is easy to underestimate during a fast retrofit. I have seen projects protect equipment while forgetting pedestrian routes. That mistake deserves review.

Integration should start with compatibility testing. Confirm voltage, dimming methods, sensor behavior, gateway communication, and fault reporting. Test occupancy sensors under real movement patterns, not an empty room. The U.S. DOE notes that lighting controls can produce substantial additional savings, but performance varies by application and commissioning quality. Connect the lighting platform with building management systems only after defining data ownership and fallback control. Keep manual overrides available for maintenance and emergencies. Document settings, train operators, and revisit energy readings after thirty days. The first configuration may be wrong. Measure again.

Top 10 Lighting System Upgrade Best Practices: Plan Installation, Safety Measures, and System Integration
No. Best Practice Planning and Installation Guidance Recommended Data or Performance Check Safety Measures System Integration Consideration
1 Complete a Site and Lighting Audit Record existing fixture locations, lamp types, wattage, mounting height, operating hours, control devices, ceiling conditions, and maintenance issues before selecting replacement equipment. Create a fixture inventory with location, circuit, input wattage, operating schedule, and measured illuminance in lux. Identify damaged wiring, overheated components, blocked access points, and areas requiring lockout/tagout procedures. Document existing switches, occupancy sensors, daylight controls, emergency circuits, and communication cabling.
2 Define Illumination Requirements Set lighting levels according to the task, room function, visual comfort needs, applicable local codes, and the requirements of occupants or equipment. Specify target illuminance in lux, uniformity, glare control, color rendering, and correlated color temperature for each area. Avoid excessive brightness, reflected glare, flicker, and poor contrast that may reduce visual comfort or create hazards. Use the requirements as design parameters for control scenes, occupancy profiles, and facility-management dashboards.
3 Choose Efficient, Serviceable Equipment Compare total cost of ownership rather than purchase price alone, including energy use, rated life, maintenance access, controls, and replacement requirements. Compare input watts, delivered lumens, lumens per watt, rated life, warranty terms, and expected annual operating hours. Verify electrical ratings, enclosure suitability, thermal performance, mounting method, and compatibility with the supply voltage. Confirm that drivers, sensors, dimmers, emergency units, and control interfaces are compatible before procurement.
4 Develop a Phased Installation Plan Sequence work by zone or floor, coordinate shutdowns, identify temporary lighting needs, and schedule disruptive activities outside critical operating periods. Maintain an installation schedule showing work areas, circuit shutdowns, access requirements, inspection dates, and commissioning milestones. Provide barriers, warning signs, safe access equipment, and adequate temporary illumination in areas under construction. Coordinate lighting work with electrical, HVAC, fire, security, network, and building-automation activities.
5 Apply Electrical Isolation Procedures Use approved drawings and circuit identification before disconnecting equipment. Confirm the isolation point and test the circuit before work begins. Record isolation points, circuit identifiers, test results, authorized personnel, and restoration checks for each work zone. Use lockout/tagout, voltage verification, appropriate personal protective equipment, and qualified electrical personnel in accordance with local regulations. Protect control panels, network devices, emergency circuits, and shared power supplies from accidental interruption.
6 Design for Emergency and Egress Lighting Keep emergency luminaires, exit signs, escape routes, stairways, and critical areas visible and operational during normal and backup-power conditions. Verify emergency operation, battery or backup runtime, inspection status, test records, and required illumination levels under local code. Do not disconnect or obstruct emergency equipment during installation. Maintain clear escape routes throughout the project. Separate emergency functions from ordinary lighting controls unless the approved system specifically supports compliant monitoring and testing.
7 Use Occupancy and Daylight Controls Apply occupancy sensing in intermittently used spaces and daylight-responsive dimming where natural light can reduce electric-light demand without compromising comfort. Check sensor coverage, time-out settings, dimming range, daylight response, false activations, and occupant override behavior. Prevent controls from switching off required safety, security, circulation, or emergency lighting. Connect controls through the selected wired or wireless protocol and define permissions, fallback behavior, and manual overrides.
8 Verify Wiring, Load, and Power Quality Confirm conductor sizing, circuit loading, protective-device coordination, polarity, grounding, inrush current, and compatibility with dimming equipment. Measure voltage, current, circuit load, power factor where relevant, and abnormal flicker or nuisance tripping after installation. Inspect terminations, grounding and bonding, cable protection, strain relief, enclosure covers, and separation from other services. Check compatibility with distribution boards, backup power, power monitoring, dimming modules, and control gateways.
9 Commission and Test Every Zone Perform functional checks after installation, including switching, dimming, sensor response, scene control, emergency operation, and occupant feedback. Compare measured illuminance and uniformity with the design criteria; record failures, corrective actions, and final settings. Complete final inspections before removing barriers or returning the area to normal use. Confirm that no exposed live parts or trip hazards remain. Test schedules, alarms, device addressing, data communication, control commands, and loss-of-communication behavior.
10 Monitor Performance and Maintain the System Establish a maintenance plan covering cleaning, inspections, sensor checks, firmware or configuration records, fault response, and replacement procedures. Track energy consumption, operating hours, fault frequency, maintenance costs, occupant complaints, and periodic illuminance results. Use documented procedures for access equipment, electrical isolation, damaged components, battery replacement, and disposal of failed equipment. Retain current drawings, device addresses, control sequences, passwords or access roles, trend data, and commissioning records.

Measure Results and Optimize Long-Term Lighting Performance

Top 10 Lighting System Upgrade Best Practices: Measure Results and Optimize Long-Term Lighting Performance

A lighting upgrade is incomplete without reliable measurement. Record baseline energy use, operating hours, illuminance, occupancy, and maintenance calls before installation. The International Energy Agency reports that lighting uses about 15% of global electricity. Even small performance losses deserve attention. After commissioning, compare monthly kilowatt-hours with the baseline, not with estimates alone. Check light levels at desks, aisles, loading areas, and emergency routes. A meter reading can expose uncomfortable glare or uneven illumination that energy data cannot show. We once found a control schedule saving energy but leaving early-shift workers in dim corridors. The calculation looked excellent. The workplace experience did not.

Tips: Install submeters where practical. Photograph representative spaces before and after the upgrade. Review occupancy-sensor timeouts after two weeks, then again after seasonal changes. Track failures, complaints, and override events in the same log. The U.S. Department of Energy reports that LED adoption can deliver substantial energy savings, but actual results depend on controls, hours, and maintenance. Treat that evidence as a starting point, not a promise. Set quarterly targets for energy intensity, light-level compliance, and control reliability. Recalibrate sensors when furniture, partitions, or daylight conditions change. Keep a small record of exceptions; they often explain the gap between projected and measured savings. One overlooked issue remains common: teams measure electricity, but not whether people can work comfortably.

Lighting System Upgrade: Measure Results and Optimize Long-Term Performance

This comparison uses a 100-fixture system operating 4,380 hours per year. The baseline uses 100 W per fixture, while the upgraded system uses 60 W LED fixtures at the same operating schedule. Annual lighting electricity use decreases from 4,380 kWh to 2,628 kWh, representing a calculated 40% energy reduction. Continue tracking monthly consumption, operating hours, and light levels to identify performance drift and optimize controls over time.

FAQS

What should be checked before a lighting system upgrade?

Measure existing light levels, operating hours, circuit loads, and fixture locations. Check ceiling access and cable paths. Record everything. Assumptions can create expensive surprises.

How should lighting zones be planned?

Divide areas by use, such as offices, corridors, warehouses, and emergency routes. Create a written control sequence. Label every circuit clearly. Small labels prevent large confusion.

Who should handle electrical isolation and energization?

A qualified electrical professional should manage isolation, testing, and energization. Follow documented lockout procedures. Verify no voltage exists before touching conductors. Speed is not safety.

How can emergency lighting be verified after installation?

Walk every escape route and inspect visibility at floor level. Test battery operation and emergency coverage. A bright fixture in the wrong location still fails people.

What compatibility tests are needed before system integration?

Test voltage, dimming methods, sensor responses, gateway communication, and fault reporting. Confirm fallback controls and manual overrides. Integration often looks simple on paper.

How should occupancy sensors be tested?

Test sensors with real movement patterns, not an empty room. Observe early arrivals, seated workers, and corridor traffic. Review timeout settings after two weeks. The first setting may be wrong.

Which measurements show whether the upgrade succeeded?

Compare monthly kilowatt-hours with the recorded baseline. Check illuminance at desks, aisles, loading areas, and emergency routes. Track maintenance calls and override events. Energy data alone is incomplete.

How can comfort problems be found after installation?

Photograph representative spaces before and after the upgrade. Look for glare, dark corners, and uneven lighting. Ask workers about comfort. A good calculation can still produce a poor workplace.

When should the system be reviewed again?

Review results after thirty days, then set quarterly checks. Recalibrate sensors after furniture, partitions, or daylight conditions change. Keep a record of exceptions. They may explain missing savings.

Conclusion

Upgrading a lighting system begins with a clear understanding of its current condition and future purpose. What Are The Best Practices For Lighting System Upgrades? Start by reviewing energy consumption, light levels, visual comfort, maintenance history, and the needs of each space. Set measurable goals, such as reducing energy use, improving visibility, increasing reliability, or supporting flexible operations. Then select efficient fixtures, suitable controls, and compatible technologies that can work with existing electrical infrastructure while allowing room for future improvements.

A successful upgrade also requires careful planning. Prepare an installation schedule, confirm safety procedures, assess wiring and control compatibility, and minimize disruption to daily activities. After installation, measure energy performance, light quality, operating costs, and user satisfaction against the original goals. Regular inspections, timely maintenance, and periodic control adjustments will help preserve performance over time. By combining thoughtful assessment, practical technology selection, safe installation, and continuous evaluation, organizations can achieve a lighting system that is more efficient, comfortable, dependable, and cost-effective.

Liam

Liam

Liam is a dedicated marketing professional with a profound expertise in the industry, where he excels at highlighting the unique advantages of our core products. With a keen understanding of market trends and consumer needs, Liam frequently updates our company’s professional blog, providing......